Producing Plastic Coated Wagon Cards
First print the cards using a colour printer and some software. The cards on the photo were produced with my old Excell sheet. The current version is 'wagenkaart3.xls' d.d. 17/5/2001. This new version is adapted to correctly print cards of various nationalities with extra data for the purpose of assisting layman in guessing correctly to which wagon it belongs. These prints are cut out and glued to a 0.8 mm white cardboard of 70x45mm, making a neat wagoncard. The last thing to add is a triangular pocket for the bill of loading. This page shows how to make these yourself and finish up with a card that can withstand many Fremo meetings without getting filthy.
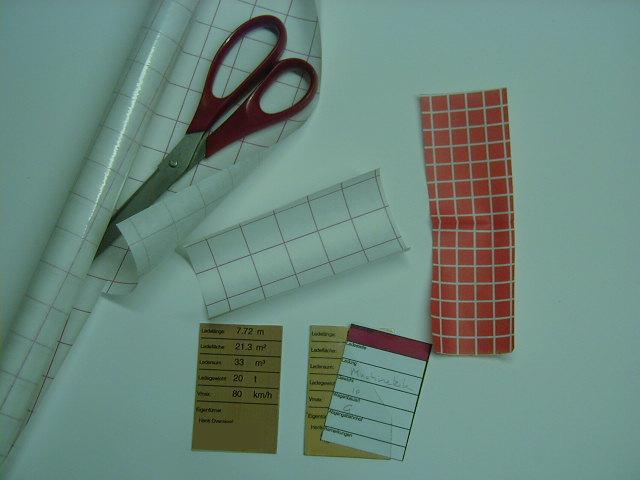
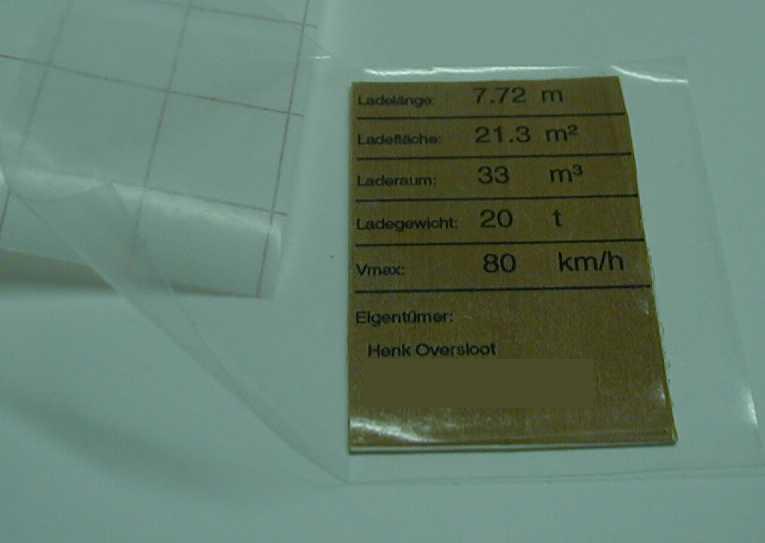
Photo 1 shows what we need. A scissors, a rol of transparent self adhesive foil, some foil cutoffs, a wagoncard and a completed card.
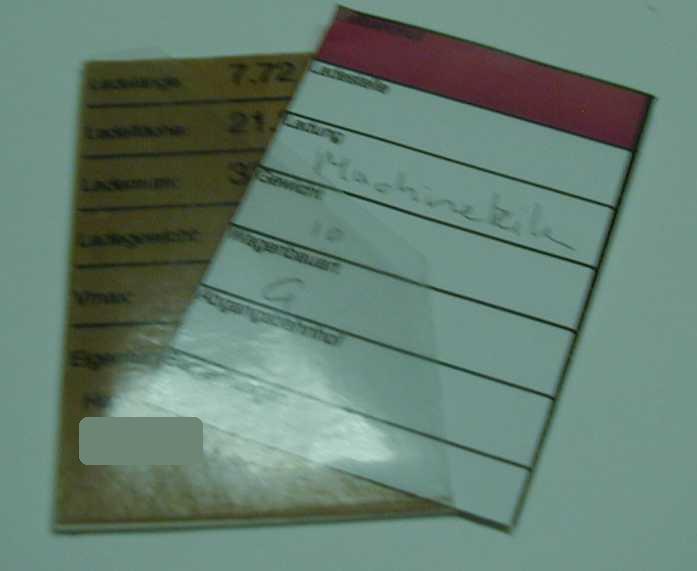
We start with cutting 2 strips of the self adhesive foil. I conveniently found an old piece with red backing to show the difference. The red strip is 2x the height of the card. The white strip 2x the width of the card. It is easier to cut the strips a bit larger and trim to size later.
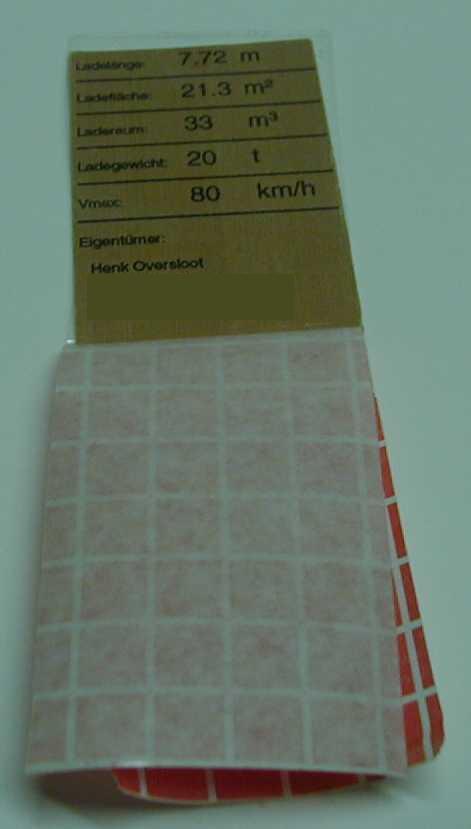
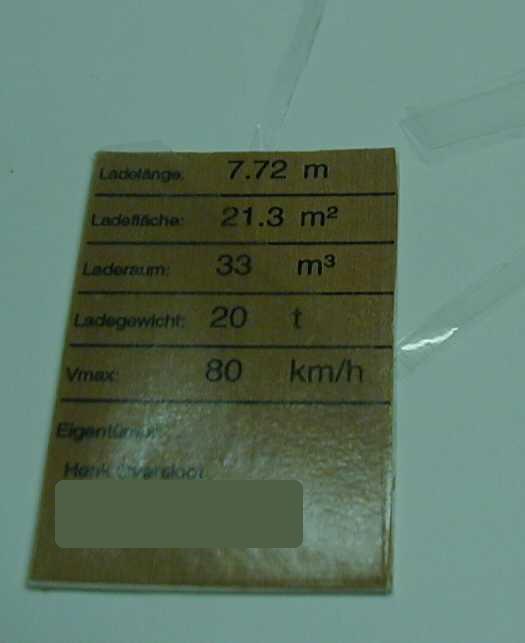
First stick the long strip to the loading side of the wagoncard and trim to size with the scissors.
Then fold it double with a very sharp fold at the underside.
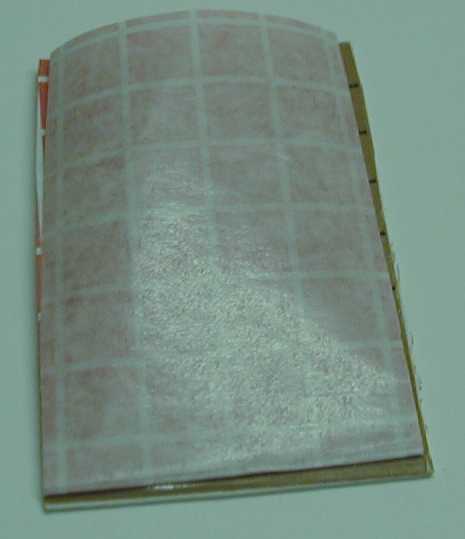
Turn the card around and stick the wider strip to the front. Take care to make the overlap on the right hand side otherwise your pocket fold will be on the wrong side!
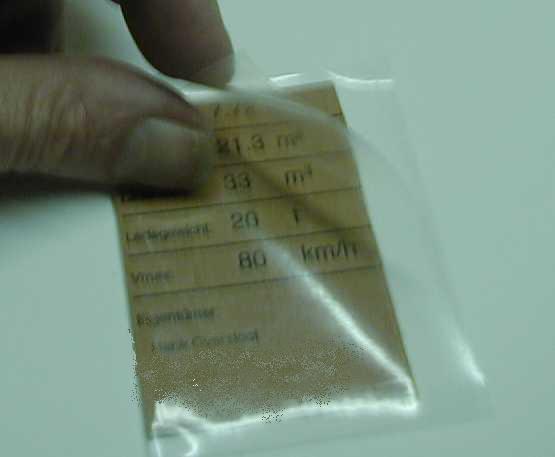
Now turn the card around again and take off all the backing papers
Now fold the second strip over the first one with the adhesive layers against each other. You then get a double fold which forms the pocket for the bill of loading
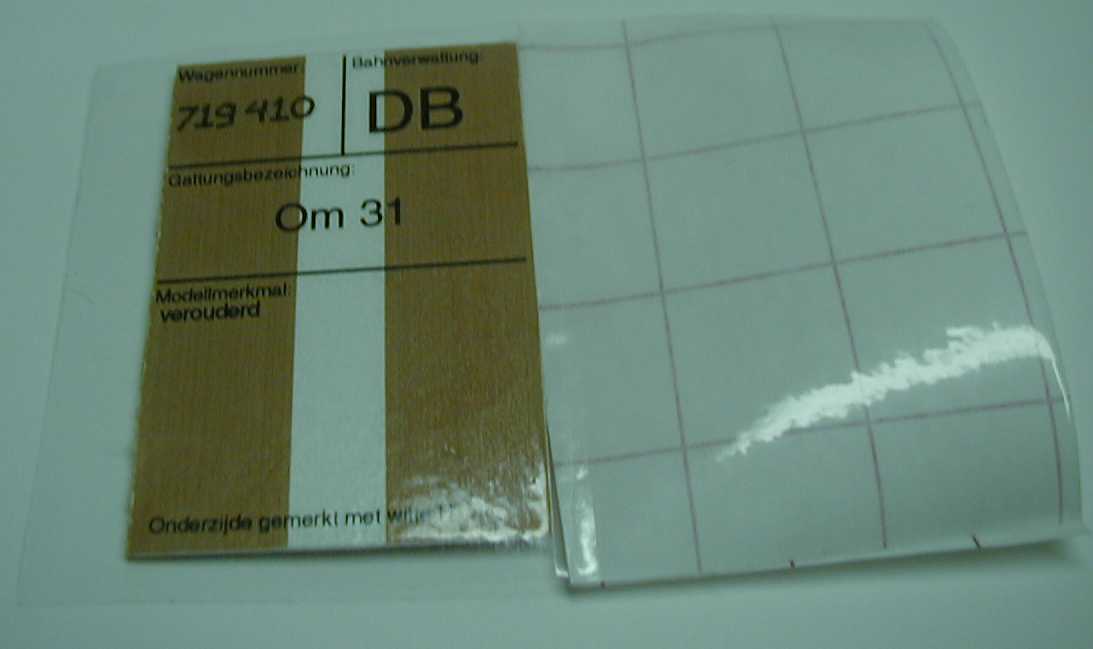
Trim to size and cut off a triangle to make it easier to insert a piece of paper into the pocket.
Like this
copyright: Henk Oversloot, 21-10-2001